Why real estate is hard on a camera
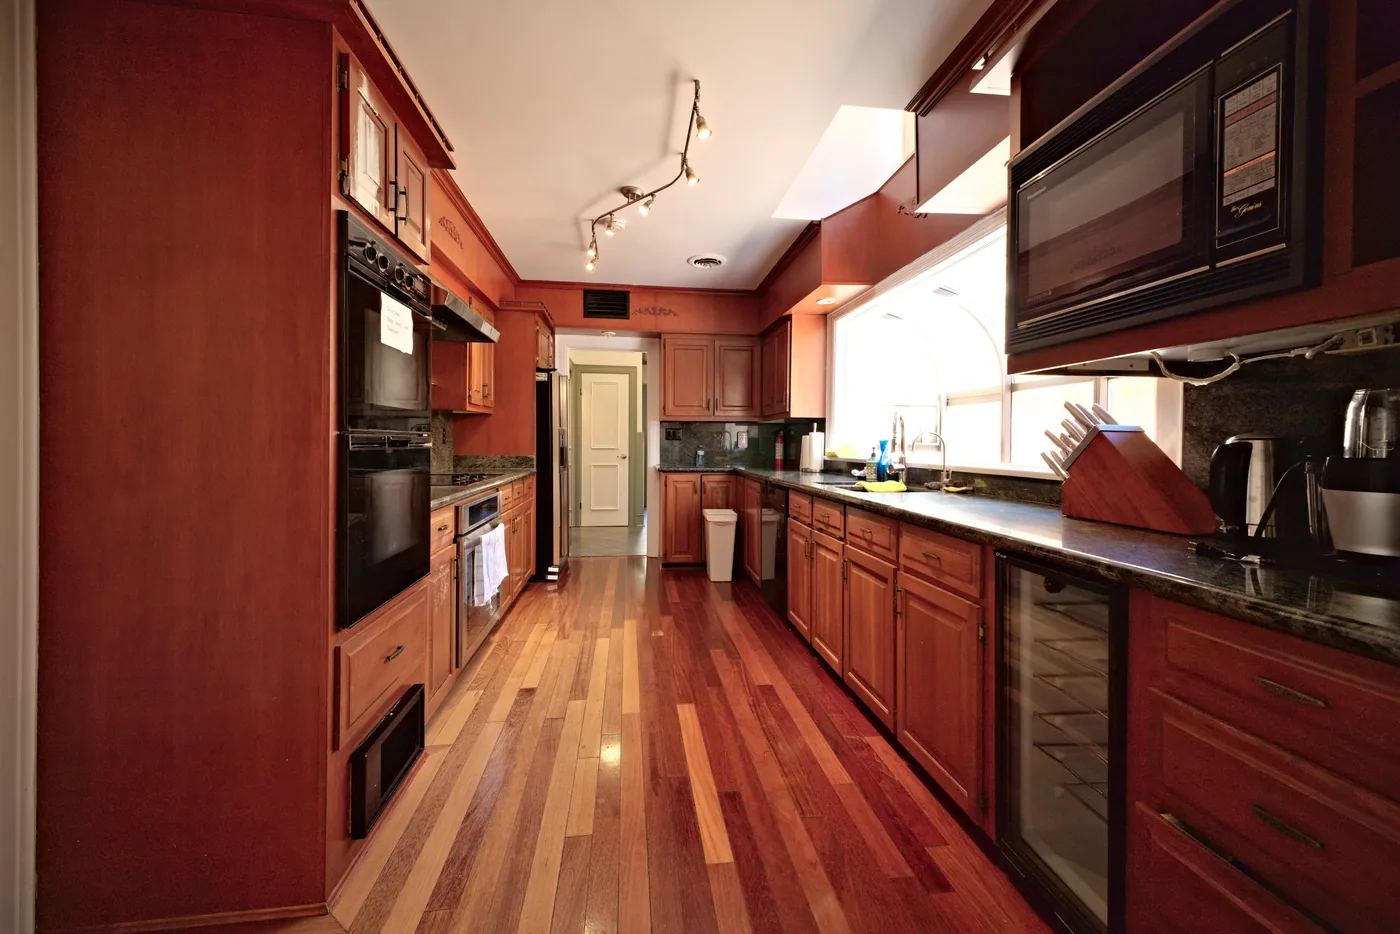
Stand in a living room at two in the afternoon. Your eyes see a cosy room and a bright window with a view of the yard. Your camera sees a problem: the window is many stops brighter than the corner behind the sofa — often hundreds of times brighter.
Expose for the room and the window turns into a white rectangle. Expose for the window and the room drops into shadow. Add warm ceiling lights, cool daylight and a dark hallway, and you have the hardest lighting most photographers deal with all week — in every single room.
It matters, because photos are where buyers start. In the National Association of Realtors’ buyer surveys, more than eight in ten buyers who searched online rate listing photos as very useful — the top-rated feature on any listing site. Good settings don’t make a photo beautiful on their own. But bad settings make sure it never is.
Real estate photography is mostly one problem: a bright window and a dark room in the same frame. Each of the three setups below is a different way of solving it.
The three settings in sixty seconds
Every exposure is a balance of three dials. In real estate, two of them are almost always set once and left alone, and the third does all the work:
- Aperture (f-stop) controls how much of the room is sharp from front to back. Interiors need the near counter and the far wall in focus, so photographers stop down to around f/8. Most lenses are at their sharpest near there; much past f/11, diffraction starts to soften the whole image.
- ISO is how much the sensor’s signal is amplified. Higher ISO means more grain, especially in the shadows you will brighten later. On a tripod there is rarely a reason to leave the camera’s base ISO of 100.
- Shutter speed is how long light hits the sensor. With aperture and ISO locked, this is the dial that moves — from 1/250 s outside on a sunny day to a full second or more in a dim basement.
The tripod is what makes this work. Handheld, you would need a fast shutter to avoid blur, which forces a wider aperture or a higher ISO. On three legs, a quarter-second exposure is as sharp as a 1/1000.
What the numbers say
We compared more than a dozen guides from working photographers and photo-editing studios, then checked them against the settings recorded in the files from our own shoots. The agreement is striking:
How to read these numbers honestly
These are starting points, not laws. Several of the guides come from companies that sell editing or HDR software, so they naturally favour the workflow their product supports. Sensor size matters too: on a smaller APS-C or Micro Four Thirds sensor, diffraction sets in earlier, so f/7.1 to f/8 is a safer ceiling than f/11. And the guides disagree on details like flash shutter speeds — where they do, we say so below.
Setup 1: Tripod ambient — the everyday workhorse
This is the setup most listing photos are made with. No flash, just the light that is already in the room, captured on a tripod either as one carefully exposed RAW file or as a bracket of exposures blended later (that blend is what people mean by “HDR”).
Setup 1 · Tripod ambient
- Mode
- Manualor Aperture Priority + auto bracketing
- Aperture
- f/8f/7.1–f/9
- ISO
- 100200–400 only if you must
- Shutter
- Whatever the room needstypically 1/30 s to 1 s
- Frames
- 1 RAW or 3–5bracketed ±2 EV
- Also
- RAW, fixed WB2-second timer or remote
- Lock everything except the shutterSet f/8 and ISO 100, and pick a fixed white balance (Daylight, or a Kelvin value) so every frame and every room matches. Auto white balance shifts from shot to shot and makes blending harder.
- Focus once, about a metre inAt 15 mm and f/8 on a full-frame camera, focusing roughly one metre into the room keeps everything from about half a metre to the far wall acceptably sharp. That is the hyperfocal distance at work: the shorter the lens and the smaller the aperture, the more of the room you get for free.
- Expose, or bracket, for the brightest thing that mattersModern full-frame sensors can hold a lot in one RAW file. If the windows still clip, switch on auto exposure bracketing: three frames at −2, 0 and +2 EV covers most rooms; five frames for a south-facing wall of glass.
- Trigger without touchingA 2-second self-timer or a remote release stops the press of your finger from shaking a long exposure.
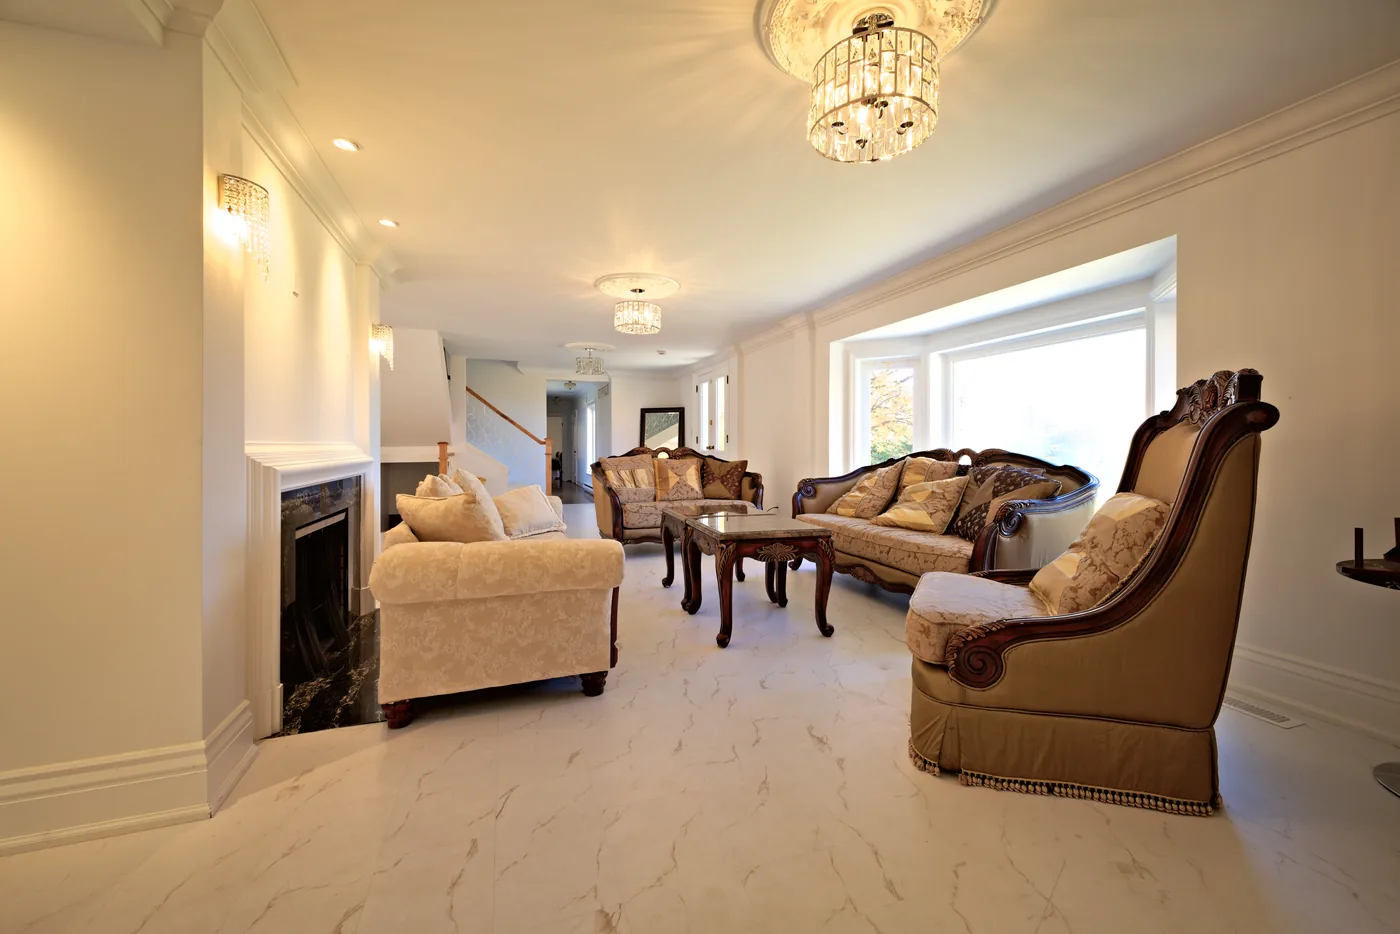
Best for: most homes, most rooms, and any shoot where speed matters. It is quick, needs no lighting gear, and looks natural. Watch out for: colour casts. Yellow ceiling lights and blue daylight in the same room can leave walls looking two colours, which is exactly the problem Setup 2 fixes.
Setup 2: Flash + ambient (“flambient”)
Flambient — flash plus ambient — is what most high-end listing work is built on. You shoot the room once in natural light for mood, once with a flash bounced off the ceiling for clean, true colours, and often once more with the flash aimed to hold the view through the windows. The frames are then layered together in editing.
Setup 2 · Flash + ambient
- Mode
- Manualflash on manual power too
- Aperture
- f/8f/5.6–f/9
- ISO
- 200–400so the flash can reach
- Ambient frame
- About 1/15–1/30 sroom bright, windows held
- Flash frame
- Faster, up to syncoften 1/125–1/200 s
- Flash power
- 1/32 to 1/2bounced off the ceiling
Where the guides disagree: some tell you to raise the shutter speed two or three stops for the flash frame, others give examples only a fraction of a stop apart. The principle behind both is the same — a faster shutter lets less room light in, so the flash decides the colour — and how far you go depends on how strong your flash is. Whatever you pick, stay at or below your camera’s flash sync speed (check the manual; many cameras top out around 1/160–1/250 s).
Best for: luxury listings, rooms with strong colour casts, dark wood and mixed lighting. Trade-off: it takes longer on site and much longer in editing. A white ceiling helps; a coloured or very high ceiling means bouncing off a white wall instead.
Setup 3: Exteriors, from midday to twilight
Outside, the problem flips: there is plenty of light, and the challenge is the sky. The nice thing is that one setup covers the whole day. Lock f/8 and ISO 100, and let the shutter speed follow the sun down.
Setup 3 · Exteriors & twilight
- Mode
- ManualAperture Priority is fine by day
- Aperture
- f/8f/8–f/11
- ISO
- 100
- Daylight shutter
- 1/125–1/500 s1–3 frames
- Twilight shutter
- 1–30 stripod essential
- Twilight frames
- 3–5bracketed ±1–2 EV
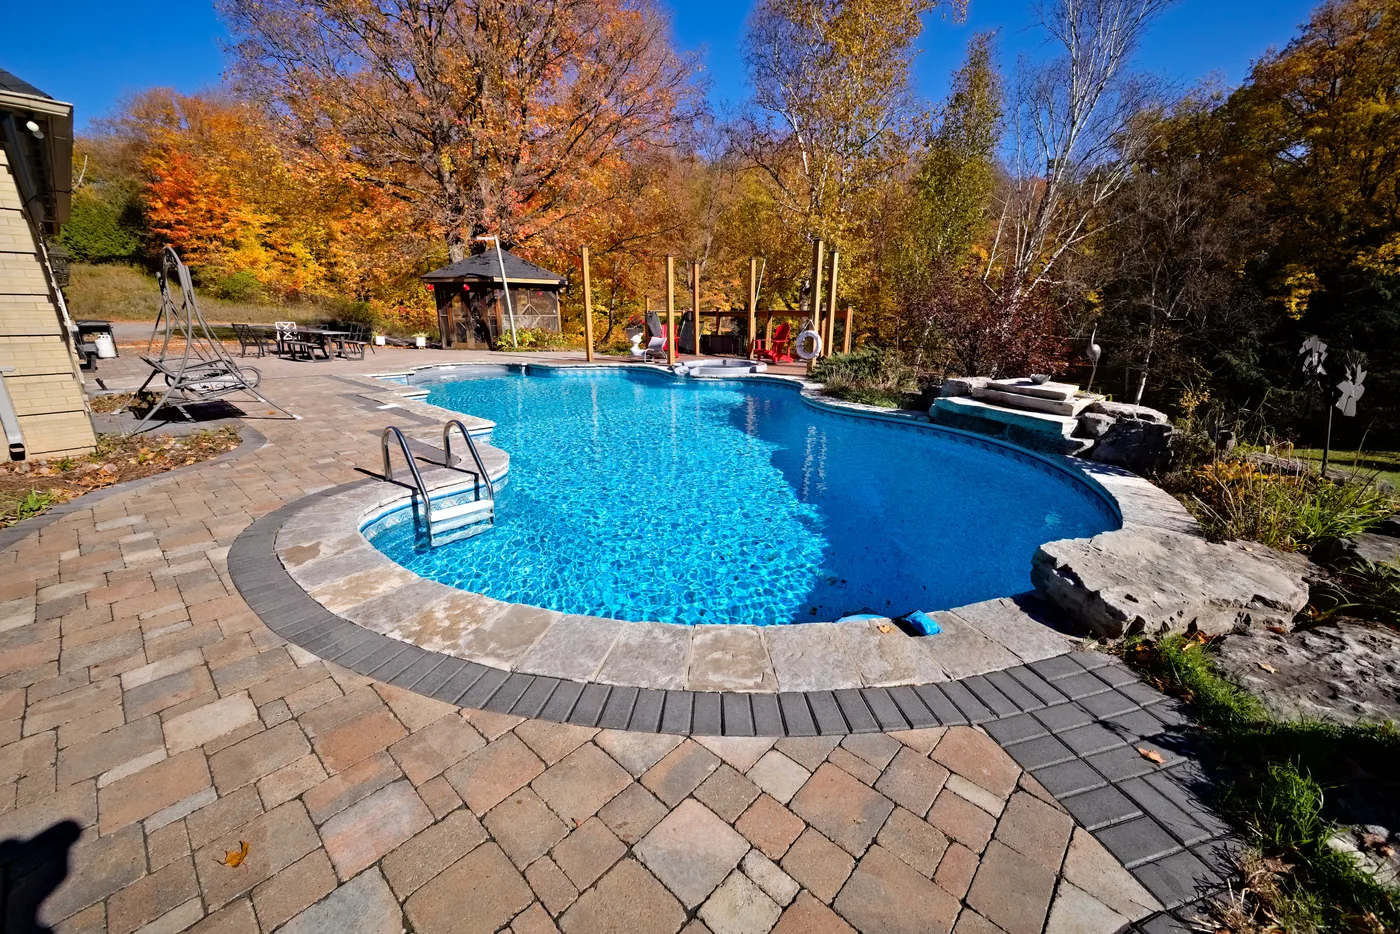
Twilight tips: turn on every interior and exterior light before the sun sets, compose while there is still light to see by, and keep shooting through the window rather than waiting for one perfect moment. Twilight scenes have less contrast than a sunny room, so brackets one stop apart are often enough. Best for: the front-of-house hero shot that leads the listing.
The three setups side by side
| 1. Tripod | 2. Flash | 3. Exteriors | |
|---|---|---|---|
| Aperture | f/8 (f/7.1–f/9) | f/8 (f/5.6–f/9) | f/8 (f/8–f/11) |
| ISO | 100 | 200–400 | 100 |
| Shutter | 1/30–1 s | ~1/20 s ambient, up to sync with flash | 1/125–1/500 day, 1–30 s twilight |
| Frames per shot | 1 RAW or 3–5 brackets | 1 ambient + 1–3 flash | 1–3 day, 3–5 twilight |
| Gear | Tripod | Tripod + speedlight | Tripod (essential at dusk) |
| Best for | Most rooms, fast shoots | Luxury, colour casts, dark wood | Hero exterior, curb appeal |
A note on drones and phones
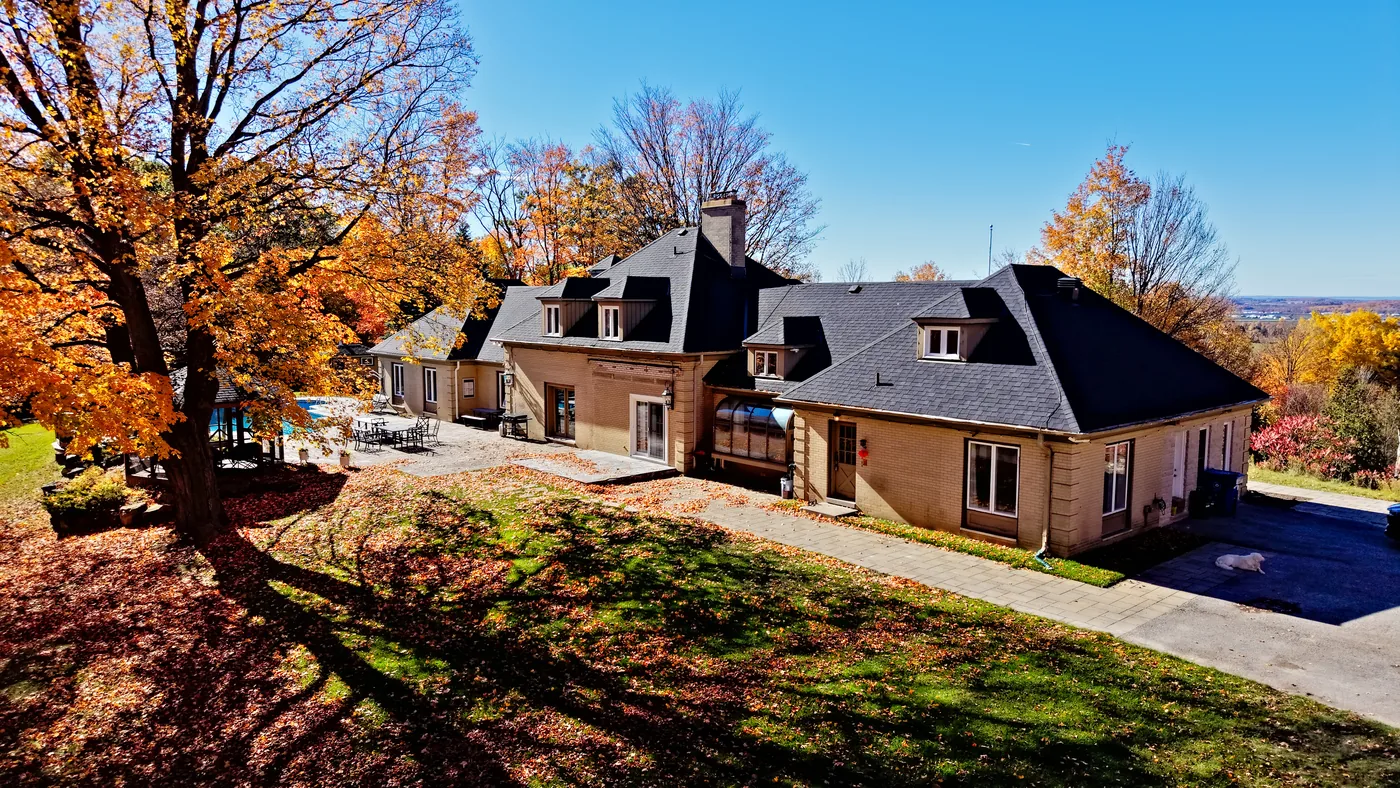
Drones play by slightly different rules. Most small camera drones have a fixed aperture, so the only dials left are ISO and shutter speed. Daylight is bright enough to keep ISO near 100 and let the shutter run very fast; the aerial below was shot at 1/3200 s. Video is a different story — it needs a slower shutter and neutral-density filters, which we will cover in a future post.
Phones handle all three dials for you and blend several frames automatically every time you press the button. They can do a decent job in a well-lit room. Where they fall short is control: the wide lens bends straight lines, the processing makes every room look the same, and there is no way to hold a dark room and a bright window the way a tripod and a RAW file can. If you do shoot on a phone, hold it at chest height, keep it level, use the main lens rather than the ultra-wide, and tap to set exposure on the brightest part of the room you care about.
Five mistakes that ruin listing photos
- Stopping down to f/16 or f/22 “for sharpness”It does the opposite. Past about f/11, diffraction softens the whole frame. f/8 already gives you the depth you need with a wide lens.
- Leaving ISO on autoIn a dim room, the camera will happily pick ISO 3200 and fill the shadows with grain. On a tripod, set ISO 100 and let the shutter take the time it needs.
- Auto white balanceEvery frame comes out a slightly different colour, which makes rooms look inconsistent from photo to photo. Fix it once for the whole shoot.
- Shooting long exposures handheldA quarter-second exposure needs a tripod and a timer. There is no steady-hands workaround.
- Forgetting the lightsEvery lamp and overhead on, every bulb working. Settings can’t fix a room that looks unlived-in because half the lights are off.
Get these three setups right and you have the foundation every good listing photo is built on. The rest — composition, lens choice, the right time of day and honest editing — is what we will cover next in this series.
Or skip the settings altogether. VILLAM’s real estate photography package is $350 and includes professional interior and exterior photos with aerial drone photos and drone video, shot with exactly the methods above, across London, Ontario and the surrounding area.